


- Home
- Products
- Certificates
- Cooperation
- About Us
- News
- Contact
Contact


+86 188 3213 4509
Contact
+86 188 3213 4509

Industry News
Industry news
May. 25, 2026
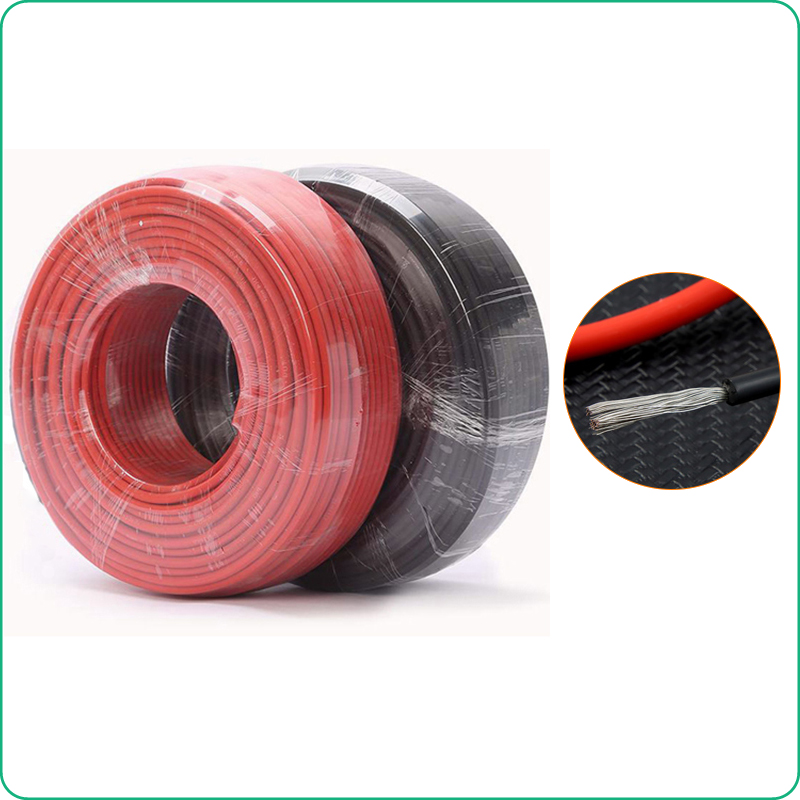
Solar cables are specialized wires designed to connect the solar panels to the inverter and other components in a photovoltaic power system. They are built to withstand environmental factors such as UV radiation and moisture.
Solar cables play a critical role in ensuring the efficiency and safety of photovoltaic systems. They help in conducting electricity generated by solar panels, as well as facilitating the transmission of power to the grid or batteries.
1. Solar Panels
2. Inverter
3. Mounting System
4. Battery Storage (optional)
5. Charge Controller (if applicable)
There are two main types of solar cables: PV1-F cables and Solar Extension cables. PV1-F cables are intended for fixed installations, while Solar Extension cables are used for connecting solar panels to the inverter.
To install solar cables correctly, you will need:
Determine the optimal routing for the cables, avoiding sharp edges and potential hazards. Make sure to calculate the appropriate length to minimize resistance and energy loss.
Using the cable cutters, cut the solar cables to the needed lengths based on your layout plan.
Use wire strippers to remove the insulation from the ends of the cables. Ensure you strip the right amount to make quality connections, typically around half an inch.
Using the crimping tool, attach the appropriate connectors to the stripped ends of the solar cables. Make sure the connections are secure to prevent any electrical failures.
Route the cables according to your earlier plan, using cable ties to secure them in place. Connect the solar panels to the inverter, ensuring proper polarity to avoid reverse polarity issues.
Use the multimeter to test the continuity of the connections and verify that the system is working correctly before finalizing the installation.
One frequent error is not measuring the lengths accurately, leading to excess slack or tension on the cables, which can cause wear.
Failure to secure connectors properly can result in poor electrical contact, which may lead to overheating and even fire risks.
Not considering UV radiation and moisture can lead to premature cable degradation, reduce lifespan, and affect system efficiency.
Understanding how solar cables work and following the correct installation procedures can enhance the efficiency and safety of your photovoltaic power system. For high-quality solar cables, look no further than Zhuhaicable, where we provide superior products to ensure your solar projects succeed. Visit us at Zhuhaicable for more information and resources.


